In this blog post, I will show you how to convert Azure VM disk from Premium SSD to Standard HDD.
Azure provides two types of disks – Solid State Drive (SSD) and Hard Disk Drive (HDD). The main difference between the two is the way they store and retrieve data.
SSD disks use flash memory to store and access data, which makes them faster and more reliable compared to HDD disks.
They are ideal for workloads that require high IOPS (Input/Output Operations Per Second) and low latency, such as databases and virtual machines.HDD disks, on the other hand, use spinning disks to store and access data, which can make them slower and less reliable compared to SSD disks.
However, they are more cost-effective and better suited for workloads that require larger storage capacity, such as file servers and backup storage.So, the choice between SSD and HDD disks depends on your workload requirements and budget.
Covert Azure VM Disk From Premium SSD to Standard HDD
To change the disk, I need to stop the Virtual Machine (VM). So, the first step is to stop the VM.

After shutting down the VM, I will click on disks, and as shown, I am using Premium SSD. I will go ahead and click on the disk name.

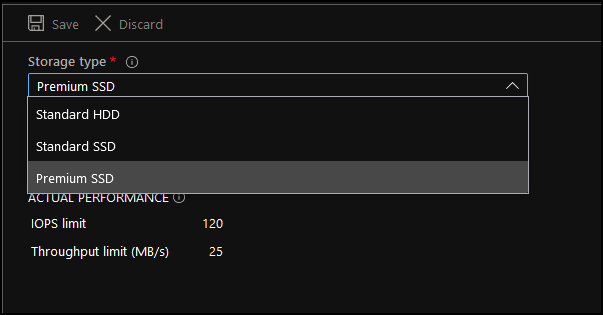
From the disk page, I will click on the Configuration option under settings. Using the drop-down menu, I will change the Storage type to Standard HDD and click Save.
Cost
When it comes to choosing between Azure SSD and HDD disks, cost is a major factor that businesses consider. While SSD disks are faster and more reliable than their traditional HDD counterparts, they are also more expensive. However, businesses can still save on costs by choosing the right type of disk for their specific needs.