In this blog post, I will show you how to migrate an Azure VM virtual disk to a managed disk.
Azure Managed Disks offer a simplified and scalable storage solution for Azure Virtual Machines, both for production and development environments.
One of their standout features is high durability and availability, as they are designed to replicate data within the same Azure region, ensuring no single point of failure.
Another key feature is the integration with Azure Backup and Azure Site Recovery, which provides seamless protection and disaster recovery capabilities.
Additionally, Managed Disks support a range of performance tiers, from high-performance SSDs to cost-effective HDDs, allowing users to select the disk type that best suits their needs and budget.
This flexibility, combined with built-in support for encryption and role-based access control, makes Azure Managed Disks a robust choice for enterprise-grade cloud storage solutions.
Migrate Azure VM Disk to Managed Disk
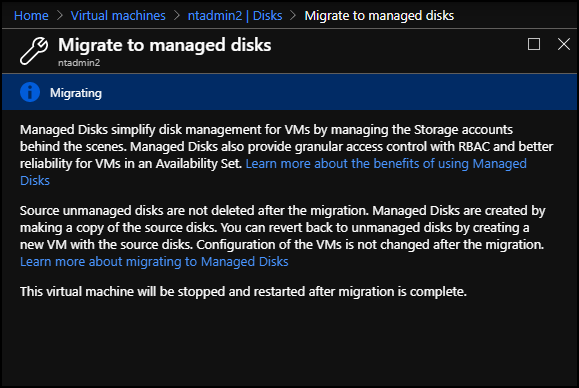
In my case, I have a Windows VM that I will migrate to a managed disk. To migrate a VM, I will click on the VM and click on the Migrate to managed disk button on the top menu.
The process can take help an hour to complete.
When Azure finishes the process, it will restart the VM. If I check the resource group of the VM, I will see that Azure created a new object for the Disk.
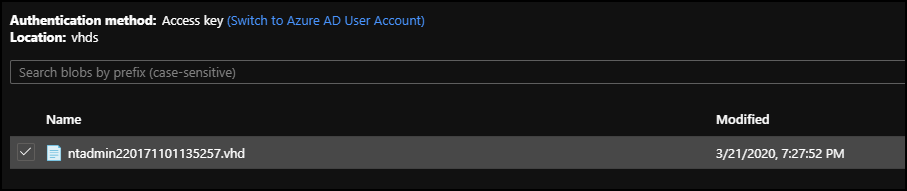
The object type is Disk, as shown below. It is important to note that after Azure migrates the disk, the old VHD disk will still be available in the storage account.
In my case, I have deleted the old disks as it attracts cost.