In this Azure REST API post, I will show you how to create an App Registration for Microsoft Azure REST API.
With Azure REST API, we can create and manage any Azure resource using a REST API protocol.
To access Azure using a REST API protocol, we must configure Entra ID, which acts as the authentication and authorisation layer for Microsoft 365 and Azure Services, to allow such access.
We do that using an Entra ID App Registration. An App Registration is like a service account (also called a service principal) with all the necessary permissions to access Azure.
A big difference between Azure REST API and Graph API is that Azure uses RBAC permissions while Graph uses API permissions.
This post will focus on creating an App Registration with RBAC permission for an entire Azure subscription.
Create an App Registration for Microsoft Azure REST API
To create an App Registration that can access Azure resources, we must use the following Azure CLI command to create a service principal with RBAC permissions.
Start with login into Azure CLI using:
az loginAnd run the command below to create the service principal account.
az ad sp create-for-rbac -n AzureAPIAccess --role Contributor --scopes /subscriptions/YOURSUBSCRIPTIONID
Note: In the above example, I’m giving the service account contributor access at my subscription level.
The command output will return an App ID, Display name, Password and the tenant ID. Note down the values, as we will need them soon.
{
"appId": "appid",
"displayName": "AzureAPIAccess",
"password": "password",
"tenant": "tenantID"
}
Use App Registration with Azure REST API
At this stage, we have all the permissions we need, and it’s time to put everything to the test.
I will use the Postman REST API client to test the app registration and list all the resource groups inside my subscription.
In Postman, Create the following variables
| tenant | tenantid |
| client_id | client_id |
| scope | https://management.azure.com/.default |
| client_secret | Client secret |
| grant_type | client_credentials |
| bearerToken | This is where the token will go |
Below, you can see how the variables look in Postman (values are hidden).
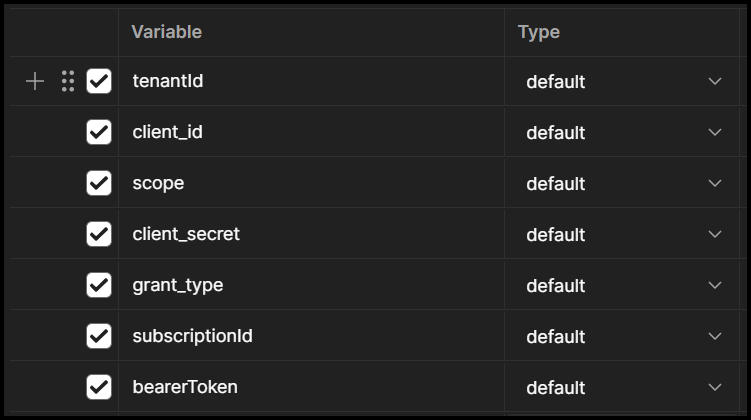
Add the variables and save.
Create Access Token
The last step before connecting to Azure REST API is creating a temporary access token. This token is only valid for one hour and needs to be renewed after it expires.
To create an access token, create the following POST request
POST https://login.microsoftonline.com/{{tenantid}}/oauth2/v2.0/token
Make sure the request inherits all the variables we set and click Send.

The response will look like this. Copy the access token (everything between the ” “.

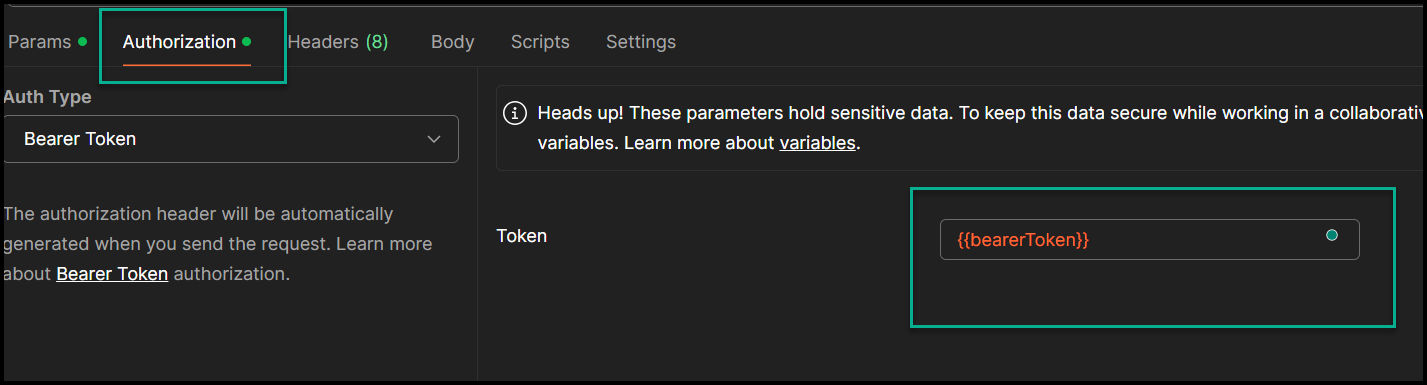
After you copy the token, we must paste it into the Postman environment variable.
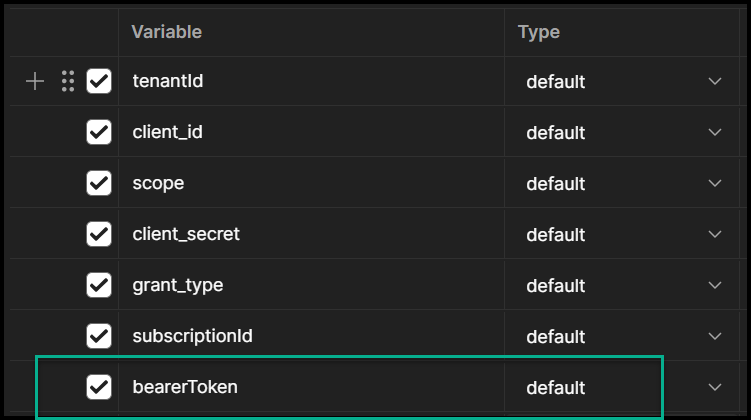
In the POST request to list all the resource groups, I’m using the token as a variable (shown below).
List All Azure Resource Groups using REST API
We are finally ready to create an Intune configuration policy.
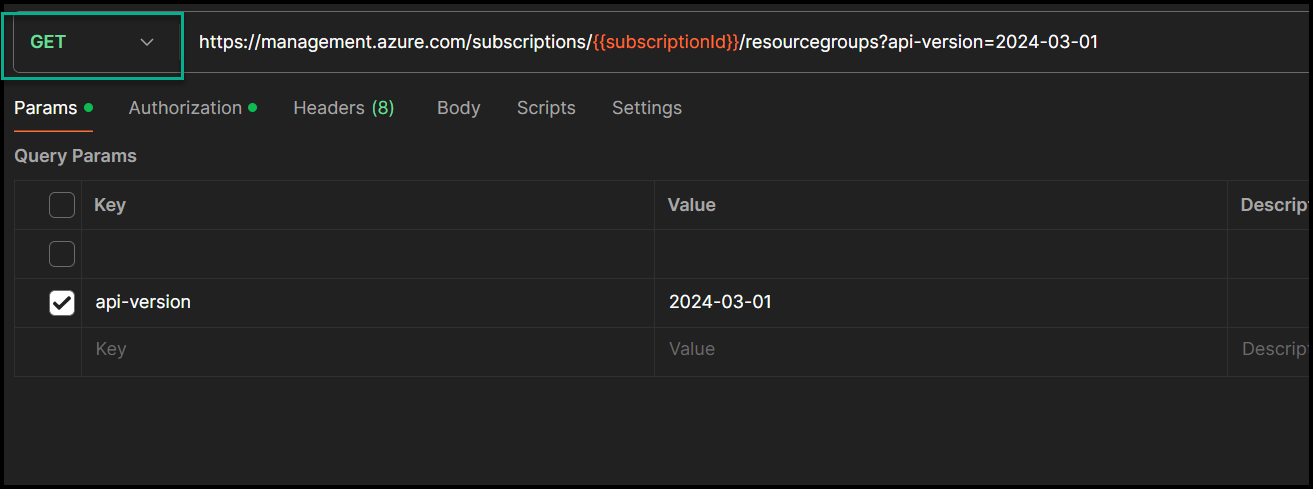
Create a new POST Request with the following details.
| Request type | POST |
| Endpoint | https://management.azure.com/subscriptions/{{subscriptionId}}/resourcegroups?api-version=2024-03-01 |
| Body (JSON) | |
The request has the endpoint URL as shown below.
Troubleshooting
If you get this error message, your token has expired, and you must create a new one.
{
    "error": {
        "code": "InvalidAuthenticationToken",
        "message": "Lifetime validation failed, the token is expired.",
        "innerError": {
            "date": "2024-05-17T02:44:10",
            "request-id": "519c17db-dcfb-43c9-ae25-e582ff1baf8e",
            "client-request-id": "519c17db-dcfb-43c9-ae25-e582ff1baf8e"
        }
    }
}
To check that your access token has the right permissions, use the jwt.ms token decoder.
Conclusion
In this post, I showed the end-to-end process of creating an Entra ID App Registration for Microsoft Azure REST API.
The important part of Azure REST API is that it uses RBAC permissions vs API Permissions when using Graph API.